Week Nine – Color and Scanning
Over this past weekend, I was contacted by the director of Peanut Gallery with a request to do the coloring for their film. Their colorist who had signed on months ago was unable to complete the work in time.
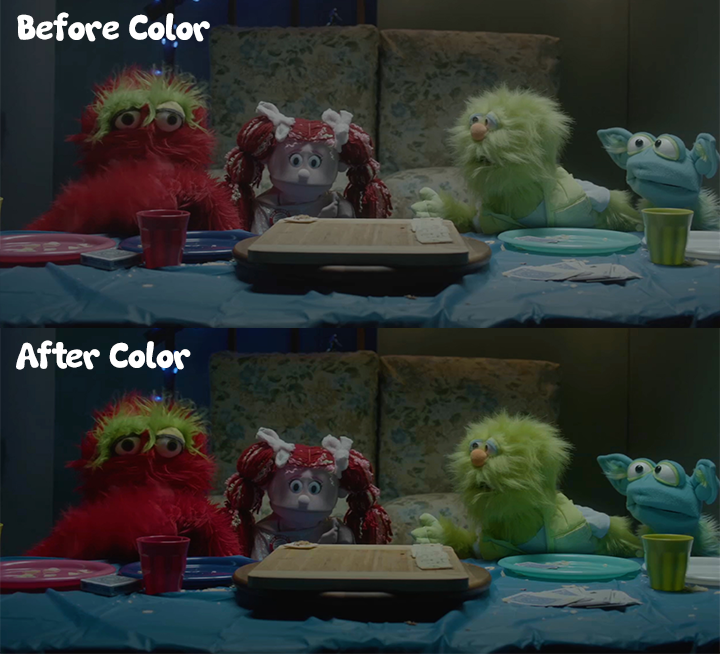
Here’s where I was able to push the color in Peanut Gallery based off of the direction of “more saturation.” Is it perfect? Who’s to say. But the director was thrilled with the result and it’s certainly better than the before product. Come see Peanut Gallery this Thursday, June 1st at 9:30 AM at Trustees Theater!
I also wanted to share the results of my Photogrammetry work on set of “The Ultimate Choice of Isaac Anderson”. As the VFX Supervisor during the days I was there, I had to make sure we had all the assets we needed to let post production go smoothly. For a particularly meaningful ultra-wide shot towards the end of the film, we see these two actors blow into dust, very similar to the result of Thanos wiping out half of all life in the universe from Avengers: Infinity War (2018). It was my decision to capture a fully textured 3D scan of our two actors in the pose they get “dusted” in. The result turned out just as great as I had hoped! It should make for a very impressive FX shot down the line.
With the last two days of classes before I have to turn in my final package, it’s up to me to compile a demo reel featuring all my best work. There’s some work I’ve completed this quarter that should definitely make the cut! Stay tuned to see the changes I make and the new projects I add to my old demo reel – see here.
Week Eight – Wrappings Up!
This week, I finally wrapped up my visual effects work on the film Peanut Gallery!! With the helpful feedback from the director, I was able to deliver shots that were entertaining and satisfactory. Take a look.
Besides finishing the post production shots for the visual effects of Peanut Gallery, I also had the amazing opportunity to work as a Visual Effects Supervisor for an upcoming film, “The Ultimate Choice Of Owen Anderson,” by director Marco Leung. Here are some exciting behind-the-scenes photos of the shoot. It’s not part of my senior II quadrilogy, but it is fascinating work that I’m proud of.
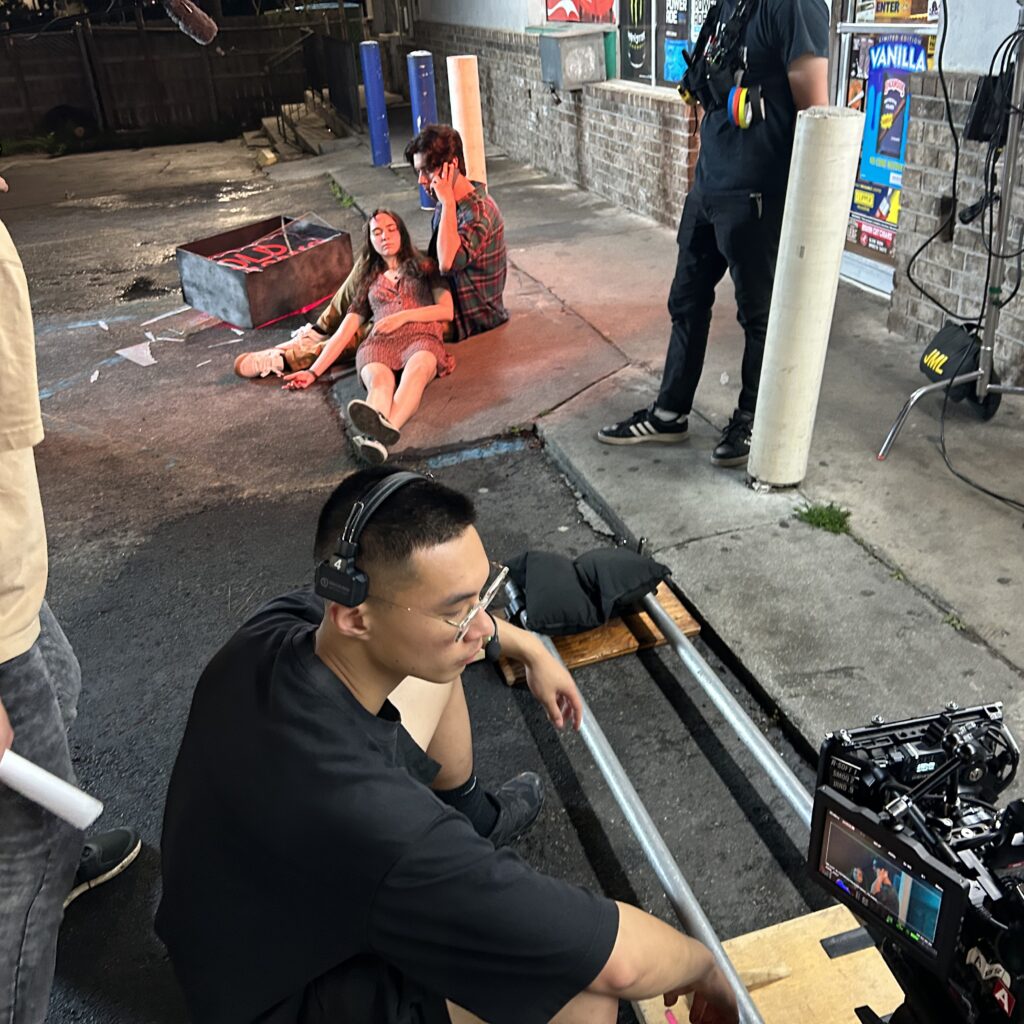
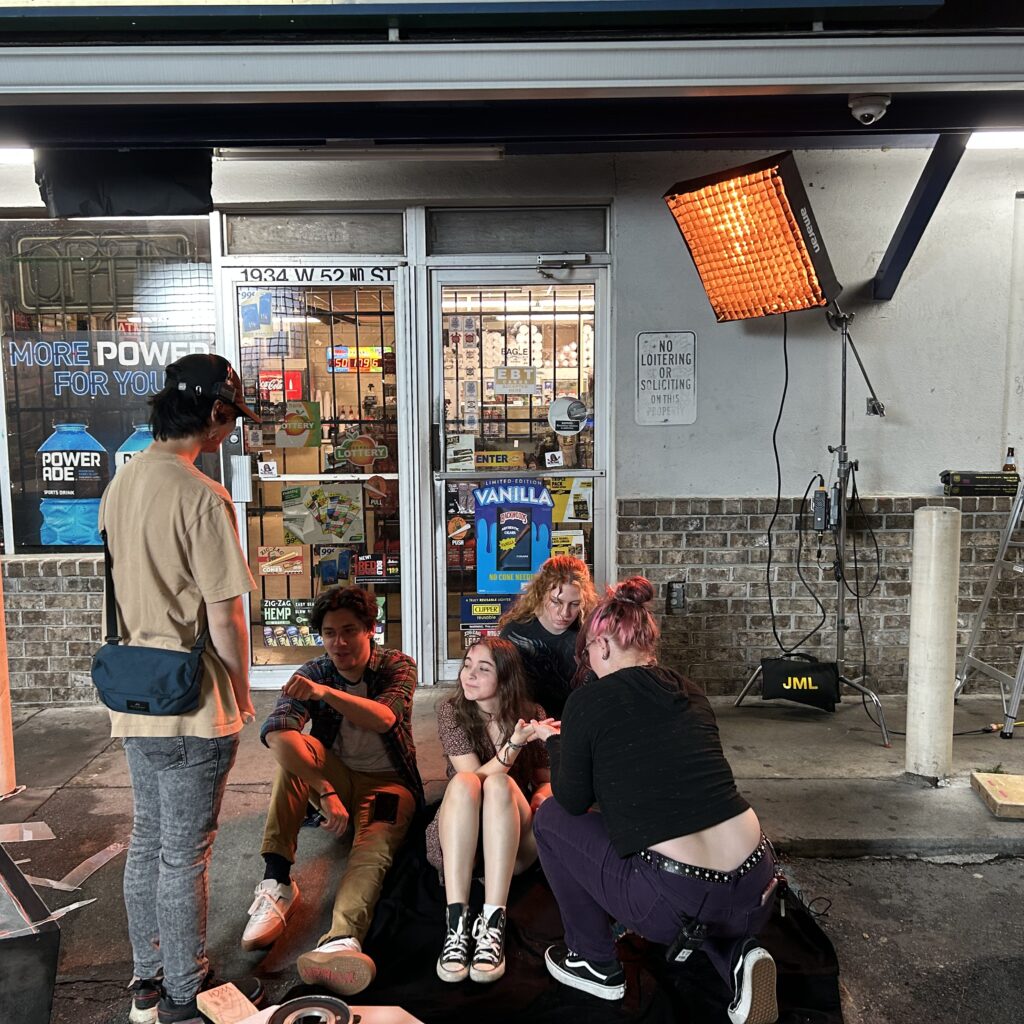
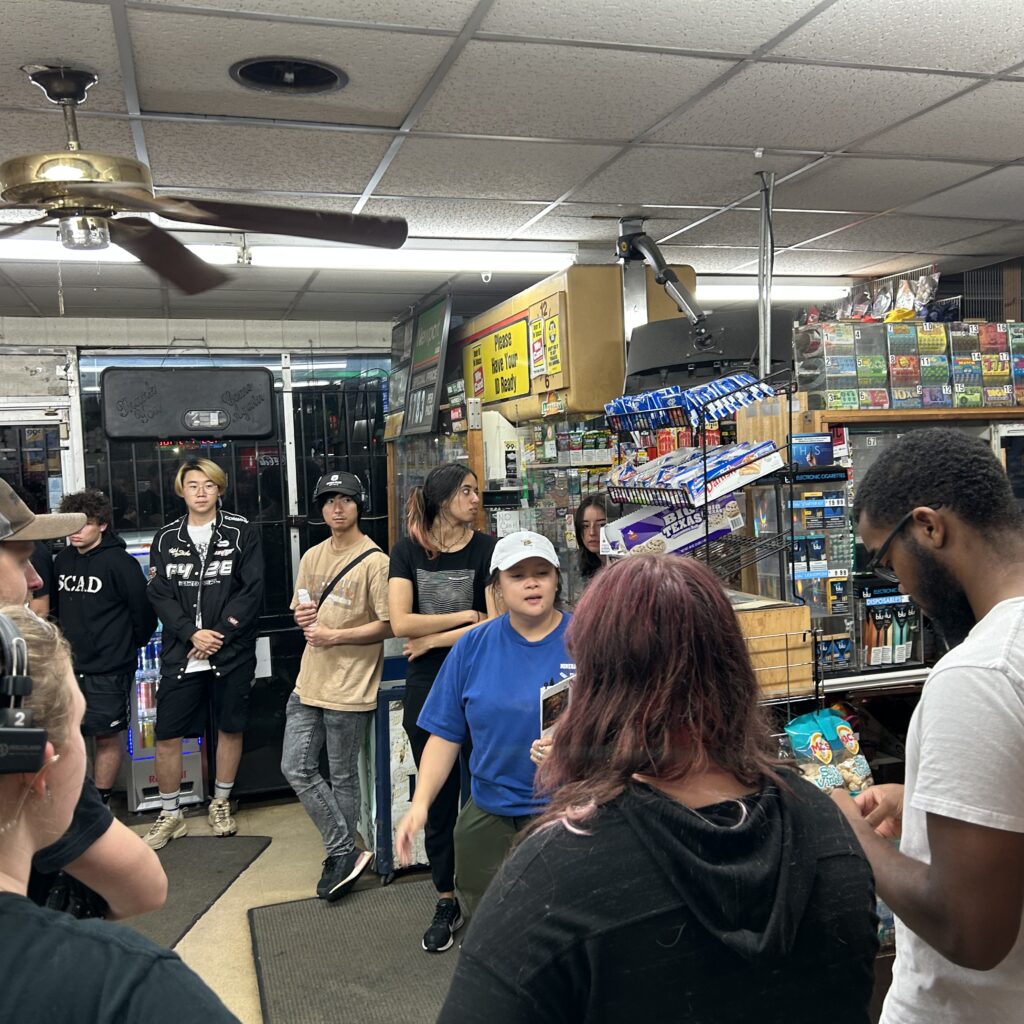
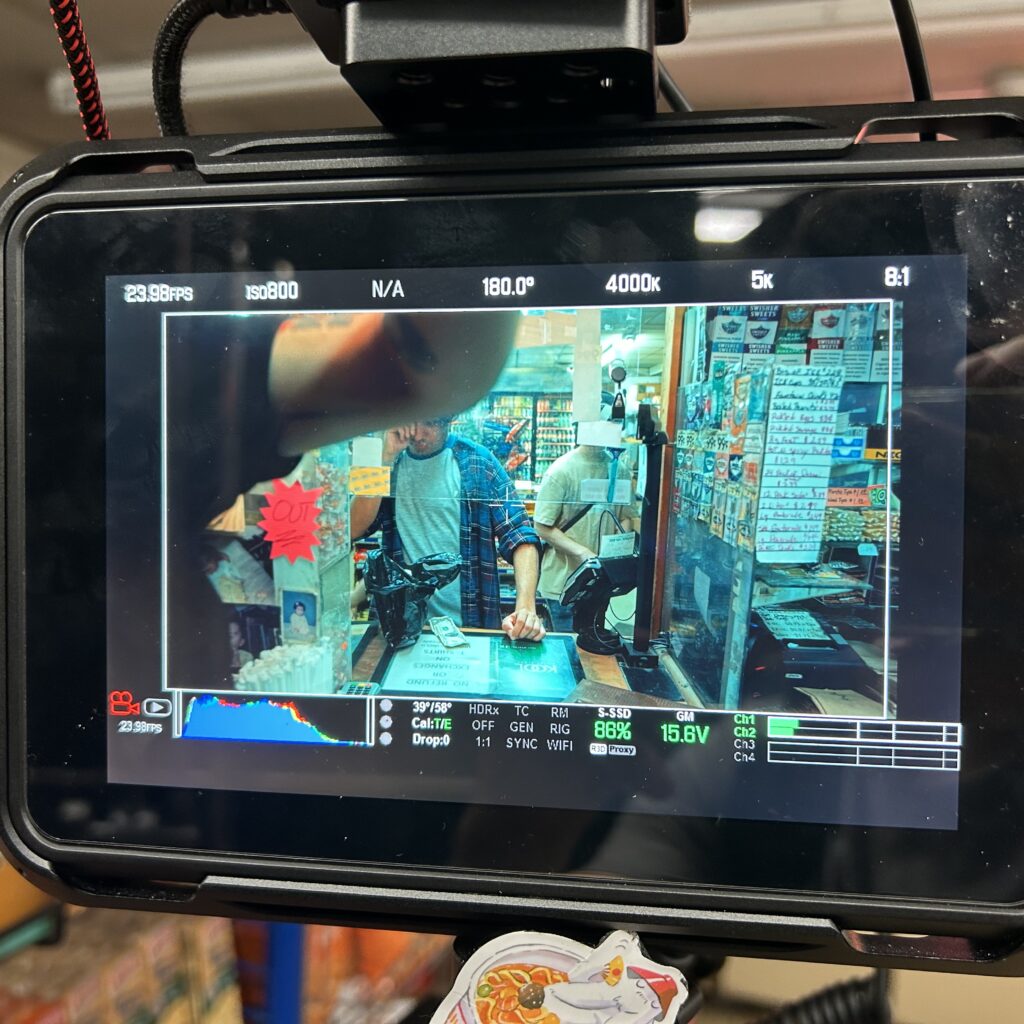
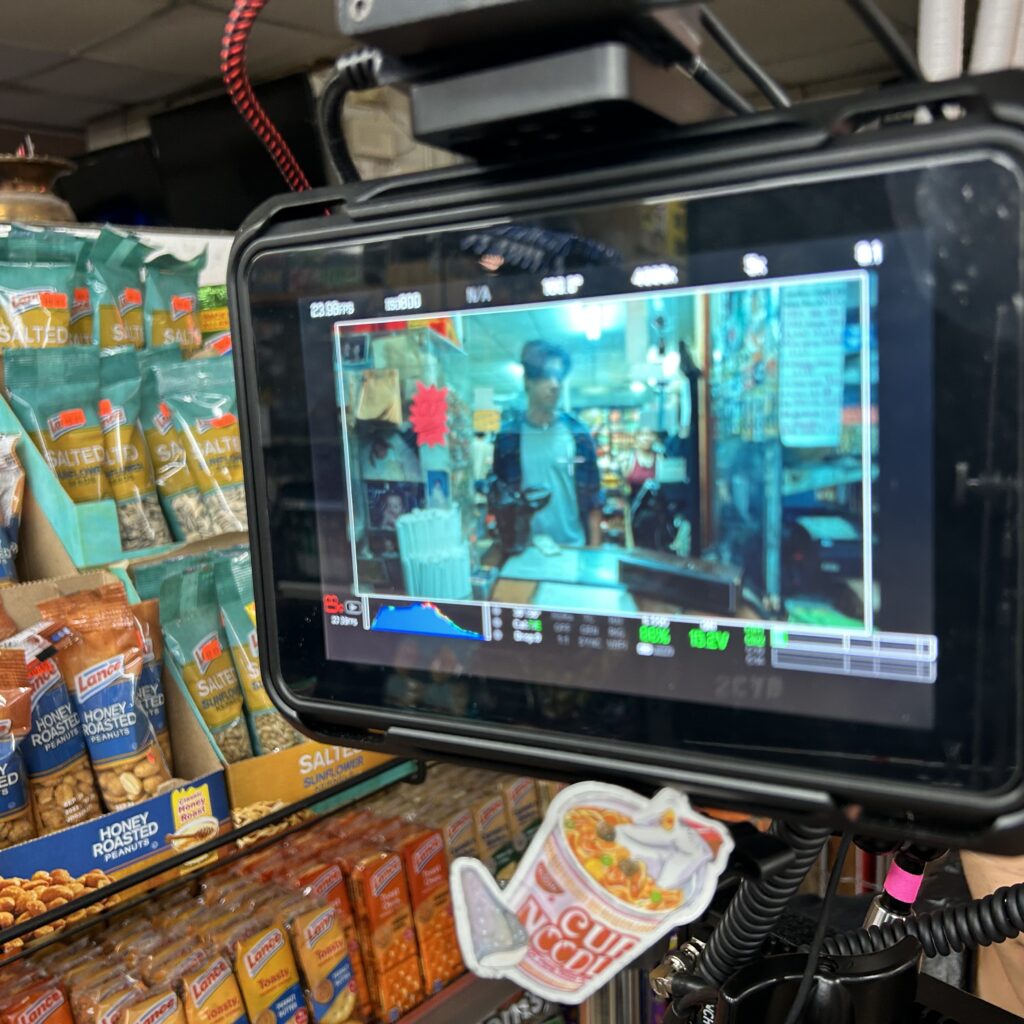
Truthfully, I was filling in for my fellow visual effects senior, Hannah Trujillo, but I feel as though I did a remarkable job with the very limited preparation time. Look out, world!
Week Seven – Deadline Inbound!
Here’s my latest shot. This is a before/after showing the added motion blur. Makes a huge difference!
And then here’s the first and most complicated shot for the Antisemitism PSA. This whole Twitter UI was custom-fit and animated by me. Almost all of the images on the screen were AI generated, leaving them free for me to use. I actually did a little research on this, just to be sure. Similar to the monkey selfie copyright dispute, it is a known legal fact that images created by non-humans have no copyright claim. Useful tip for anyone else creating 2D imagery with the help of AI tools like this!
Progress on the big Peanut Gallery blowup shot is slow and steady. I have one final week to finish it up. I’m confident in my abilities and motivation to get something deliverable for class 15! Just wait and see!
Week Six – Workin’ hard, not hardly workin’!
I’ve gotten to a good resting point with the screen replacement for Peanut Gallery. The lack of motion blur on the screen is a dead giveaway that it’s a digital effect. I’m going to have to ask one of my peers for advice on how to apply motion blur in Nuke to an object that’s merely transformed!
I had intended just to do the comp work for P.G. and the PSA as something of a warm-up before I dug further into the R&D for the puppet explosion, but the work for the PSA ended up being more hands-on than I had anticipated.
Unlike Peanut Gallery, the information to be spliced into the scene for the PSA was not created for me. Sasha has been kind enough to create an outline of what she was expecting for the scroll through fake Twitter, though most of the elements I am having to craft myself.
Week Five – Tucking into Peanut Gallery
I had a productive meeting with the Director and Editor of Peanut Gallery last Tuesday. In this meeting, we discussed deadlines for my VFX. It was helpful for me to have a concrete deadline to plan my VFX creation around.
April 28th – I have a check-up with the director so they can see my progress on the 3 shots they had assigned me. I am making great strides with the simple screen replacement shot, I’m thankful that they managed to capture a green screened phone screen for me to key.
May 14th – The final deadline for all my VFX. This isn’t when the whole project will be finished for the viewing pleasure of fellow SCAD students, but they need the following week for editing and color. I believe this will be sufficient time for me to complete my VFX.
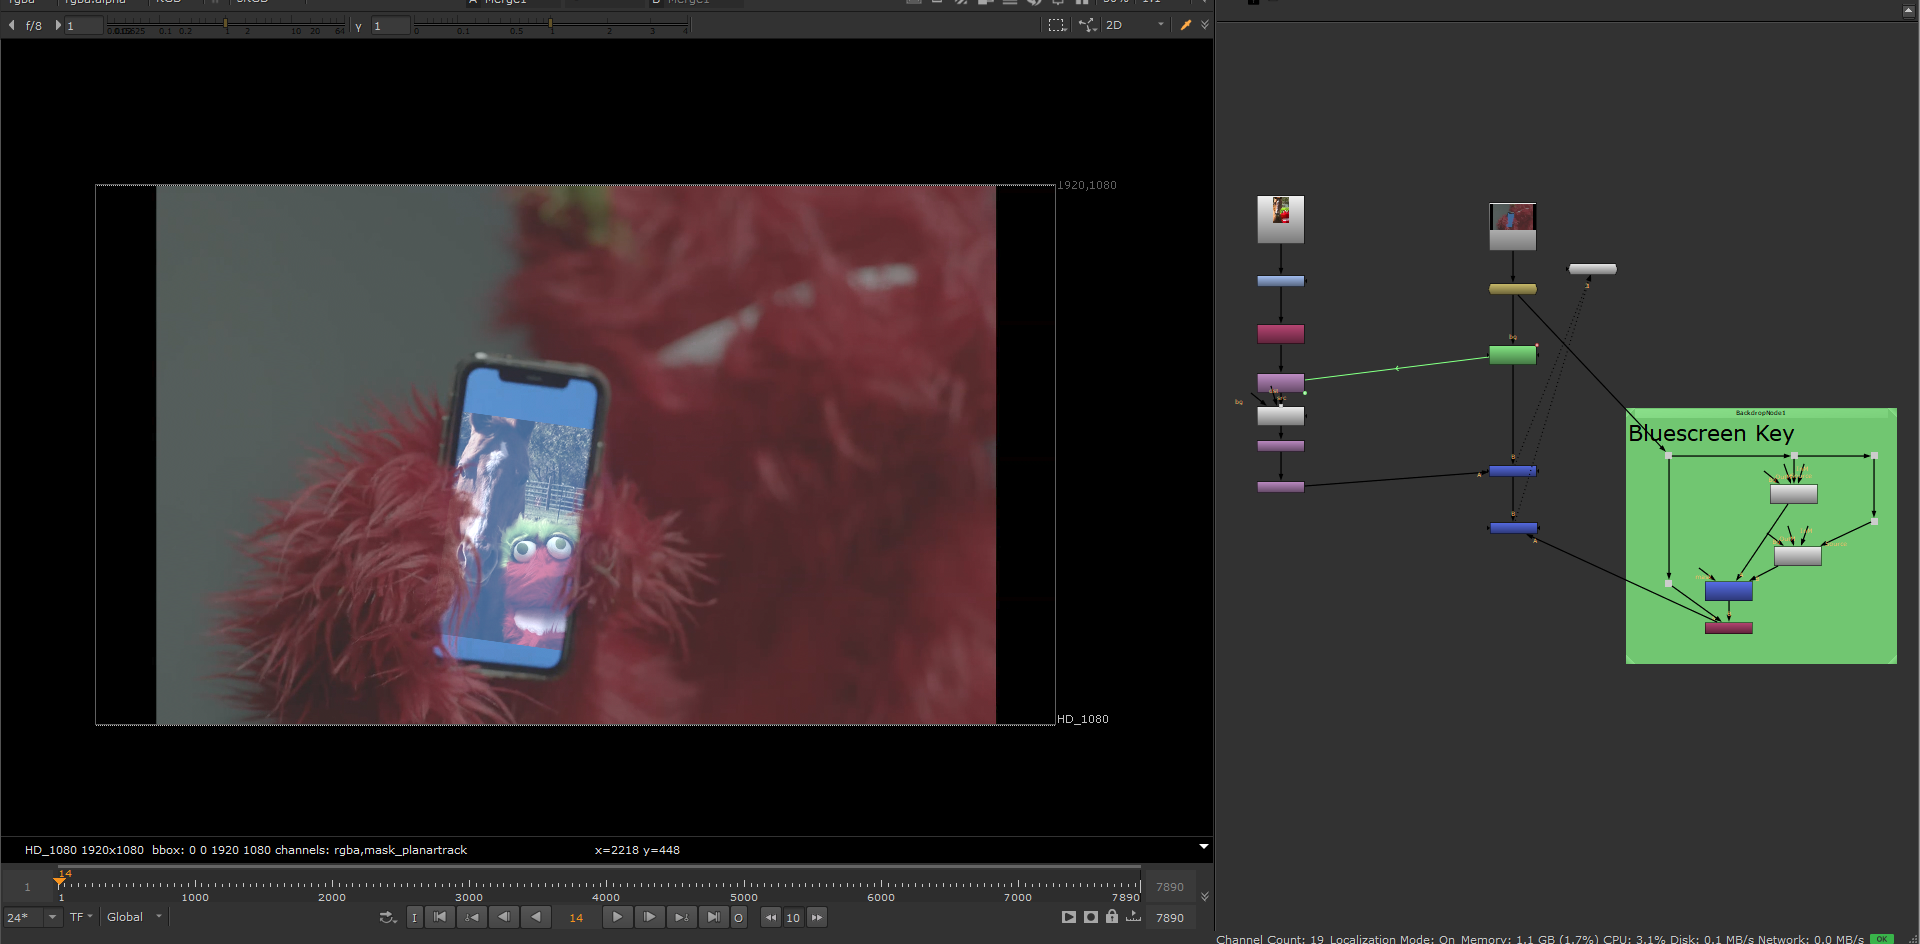
One thing I learned when setting up the lighting for my Houdini FX shot was how photogrammetry models interact with HDR. Because of the nature of photogrammetry, I was actually capturing all the reflections and accurate lighting that an HDR would provide. To the textures of the photogrammetry model, through testing I found that they “believe” their lighting is a pure white expanse. Here is the result of my testing.
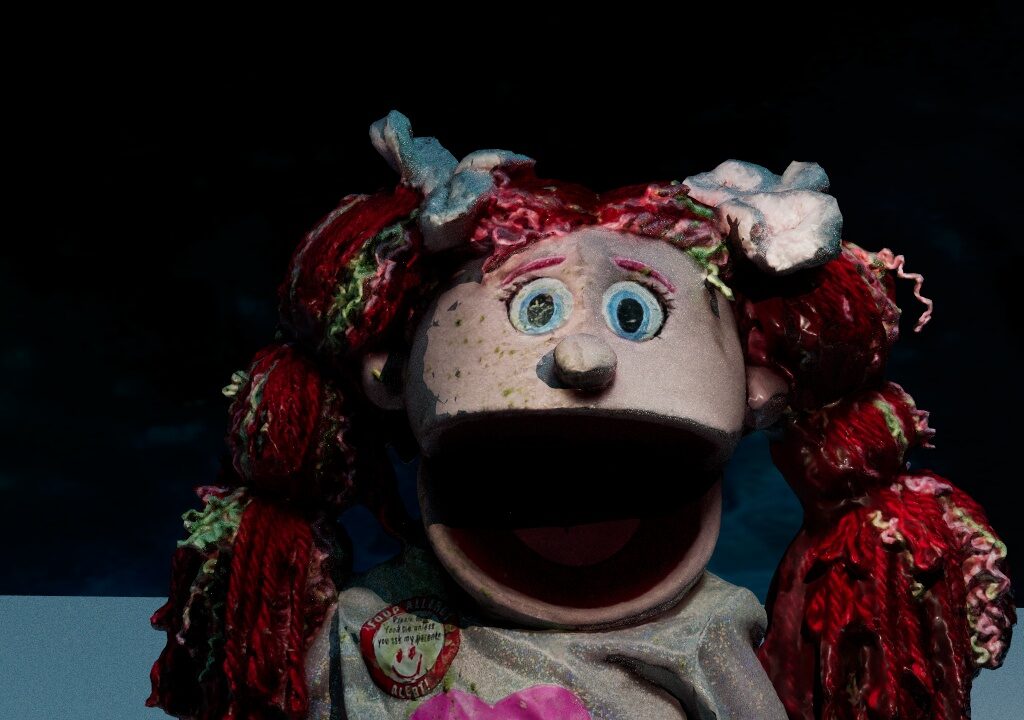
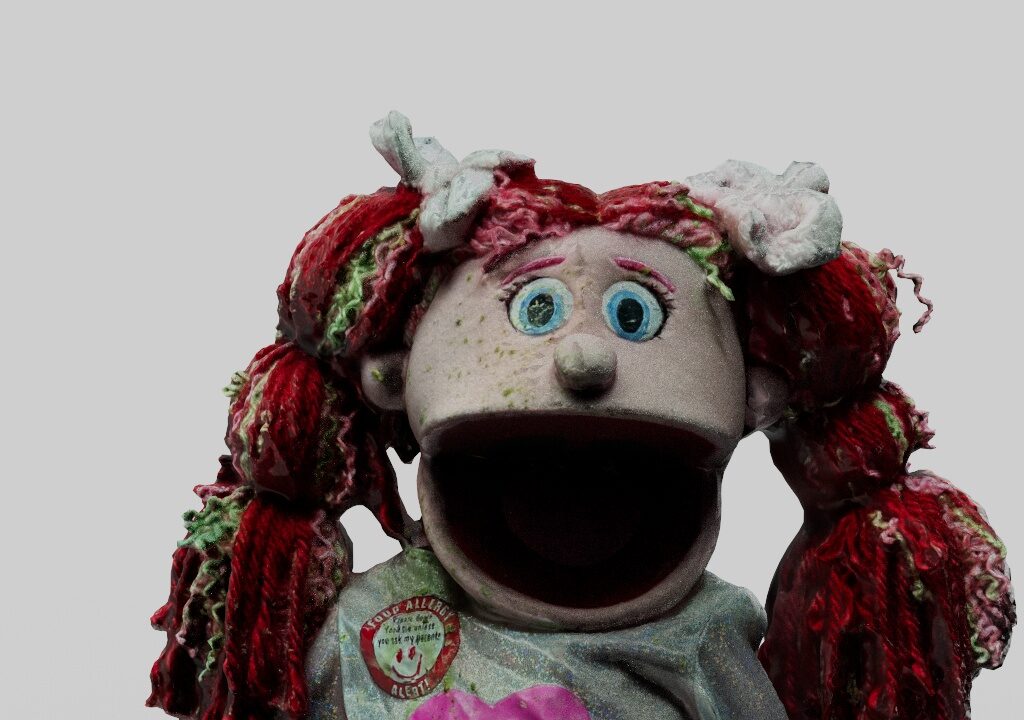
As you can see, the photogrammetry model with the HDR and a keylight does not provide as accurate of color as a pure white light dome. This is because of the shading apparent on the texture itself.
I will most likely still need to use my HDR of the set for all the viscera that bursts from Molly’s head in the explosion, like fluids and glitter.
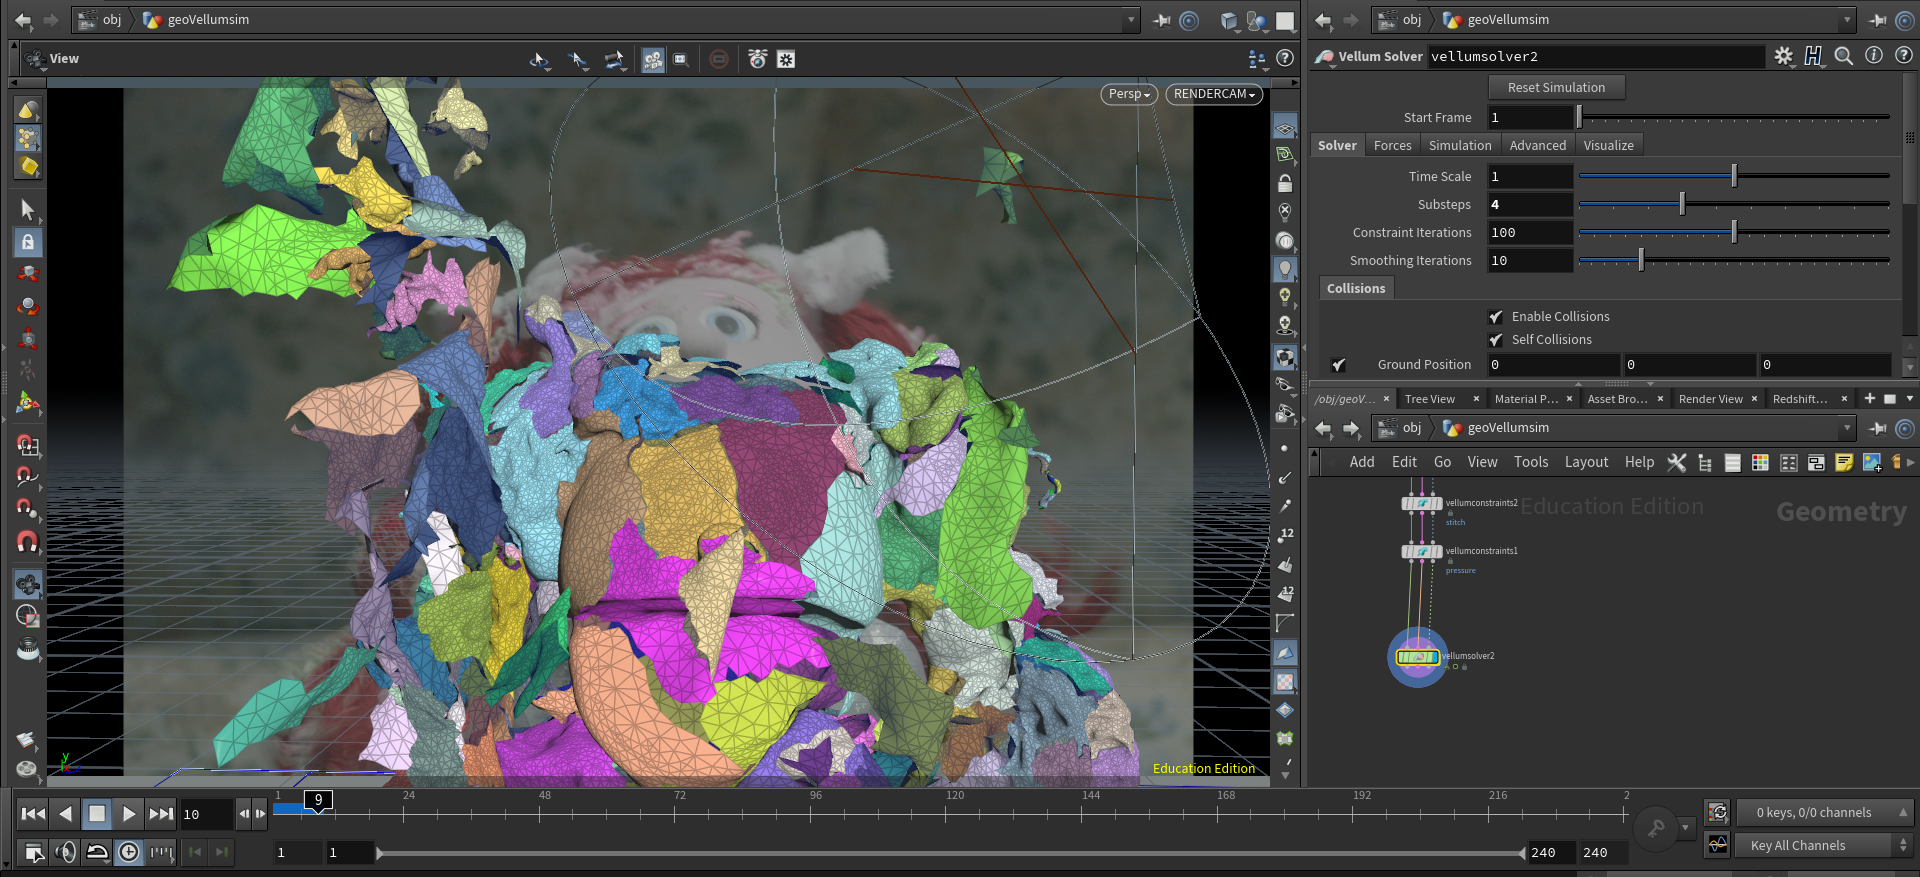
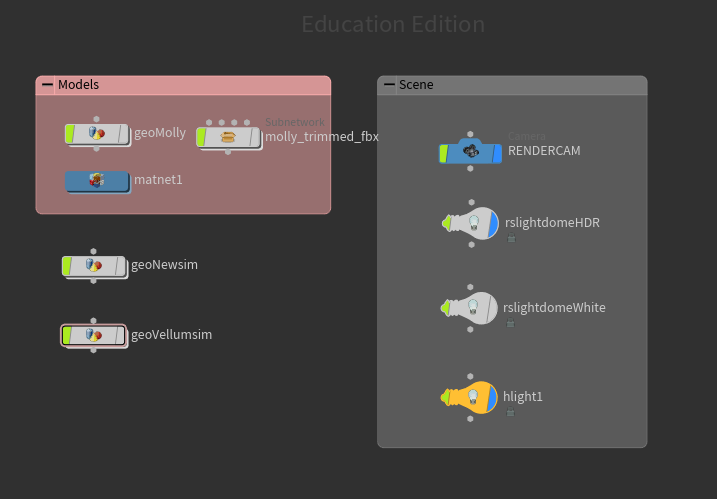
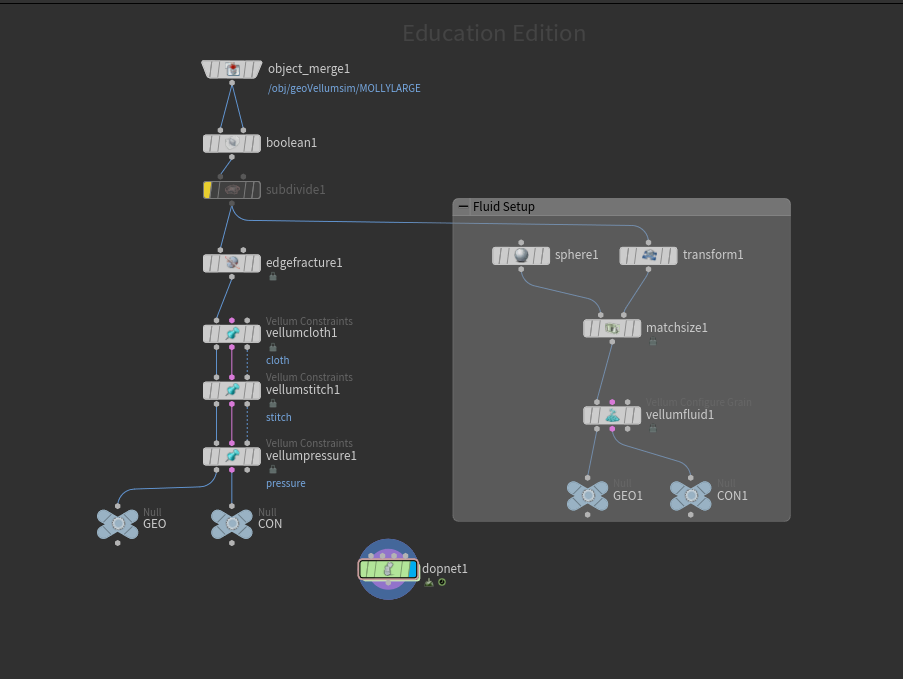
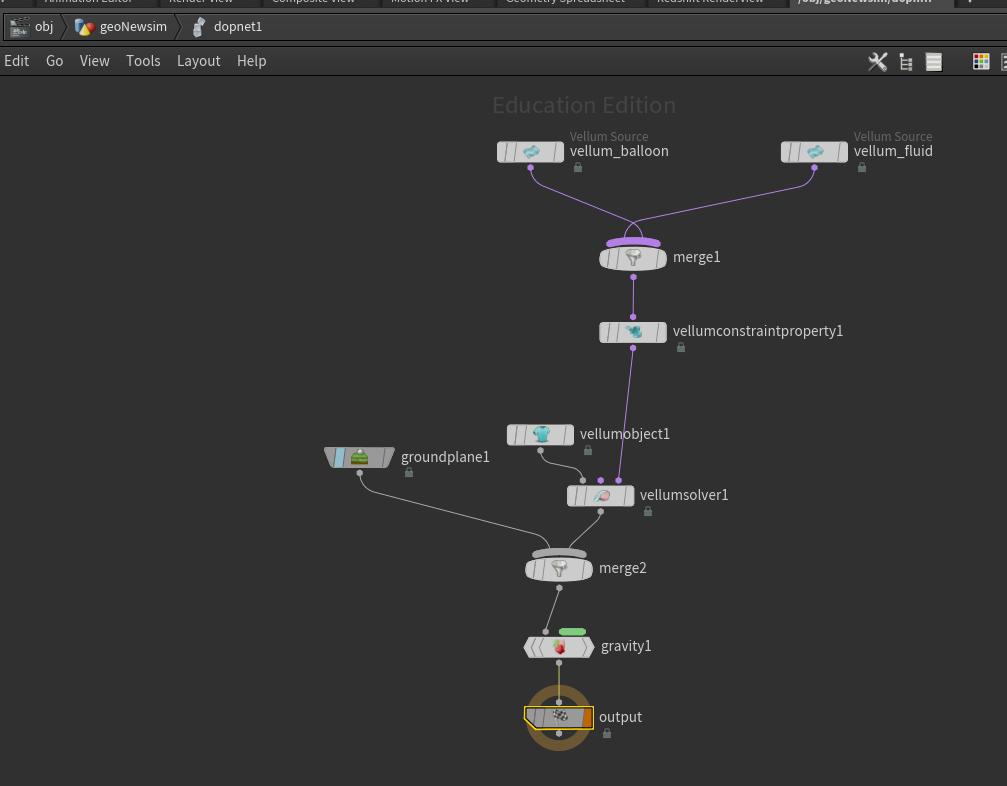
Here’s a screenshot of the result of my initial research with the vellum explosion. Because this is my first time using vellum, there is a bit of a heavy workload on the research side. But I am determined to impress the director and editor with my VFX.
Week Four Update
It still needs cleanup in comp, the lighting levels are all over the place. I would probably do this by focusing on making a much improved clean plate out of the actual information in the background sequence, rather than with separate still images. It seems having the actor in the room changed the ISO of the camera!
The animation is also a little too static to be satisfying once the hand is at the bulb socket. BUT- it is a big step up! I’m happy with the direction this complicated shot is headed.
Week Four – One step forward, one step back.
Throughout weekend 3, I set upon the task of “finishing” my super stretch lightbulb scene. The largest problems with it were the cutty roto, the underwhelming color, the disconnect of the hand and the arm, and the lack of movement once the arm is fully extended.
I still thought I could get this task done with procedural methods in Houdini. This extensive R&D process. which would undoubtedly require a masterful combination of different methods, proved to be perhaps too large a task for now. Although, the demand for me to get it done is still there. What do I do?!
The most I can do right now is show my work. The previous version was done in Maya, and I extrapolated those arguably rudimentary methods of super stretch to Houdini. This is to say I essentially re-did the shot. One thing learned with VFX is iteration. The first couple versions of an effect will very rarely be your last.
Week Three – “How Superheroes Do Their Chores”: 10 Problems and My Solutions
The first day of week three contained a pretty deadly deadline! My personal Senior project – “How Superheroes Do Their Chores” was fully due, and it was my duty to deliver it! In this last week, I did indeed make some clear advancements in my project.
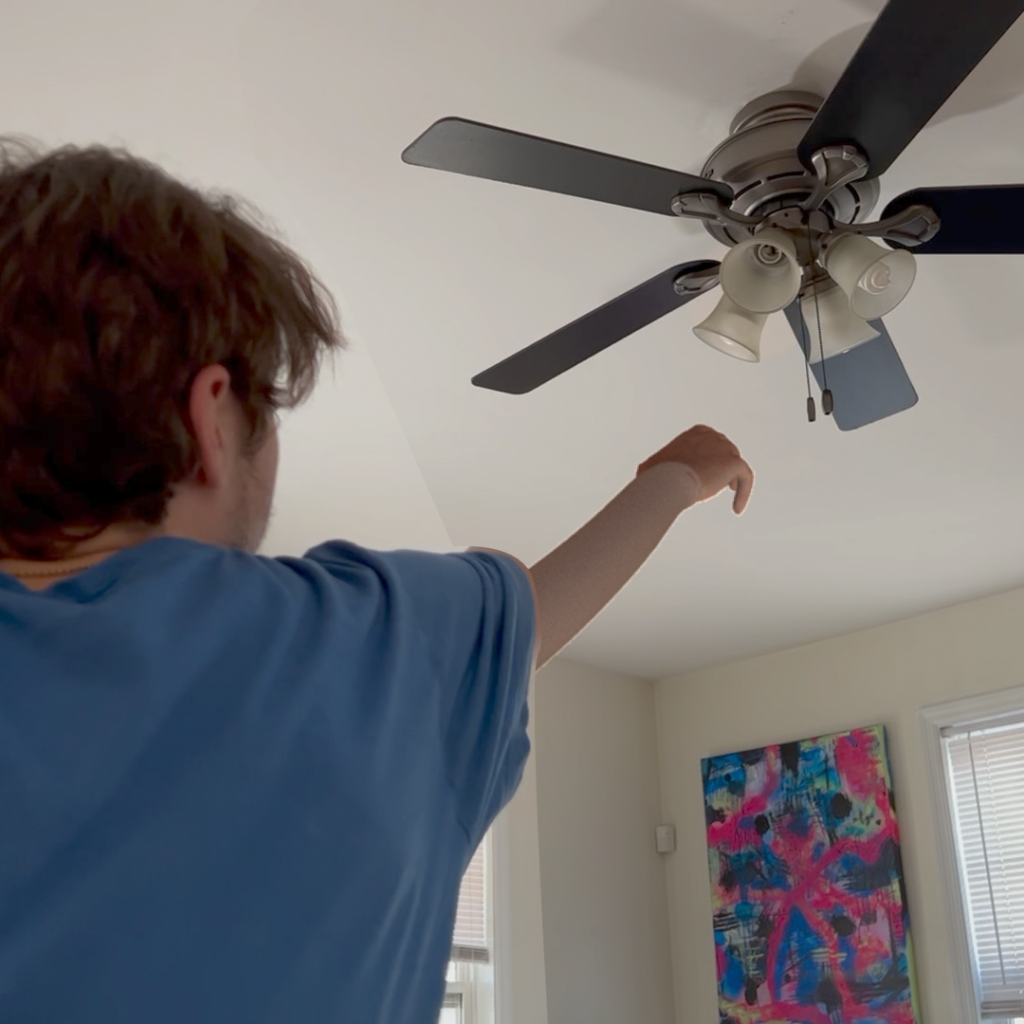
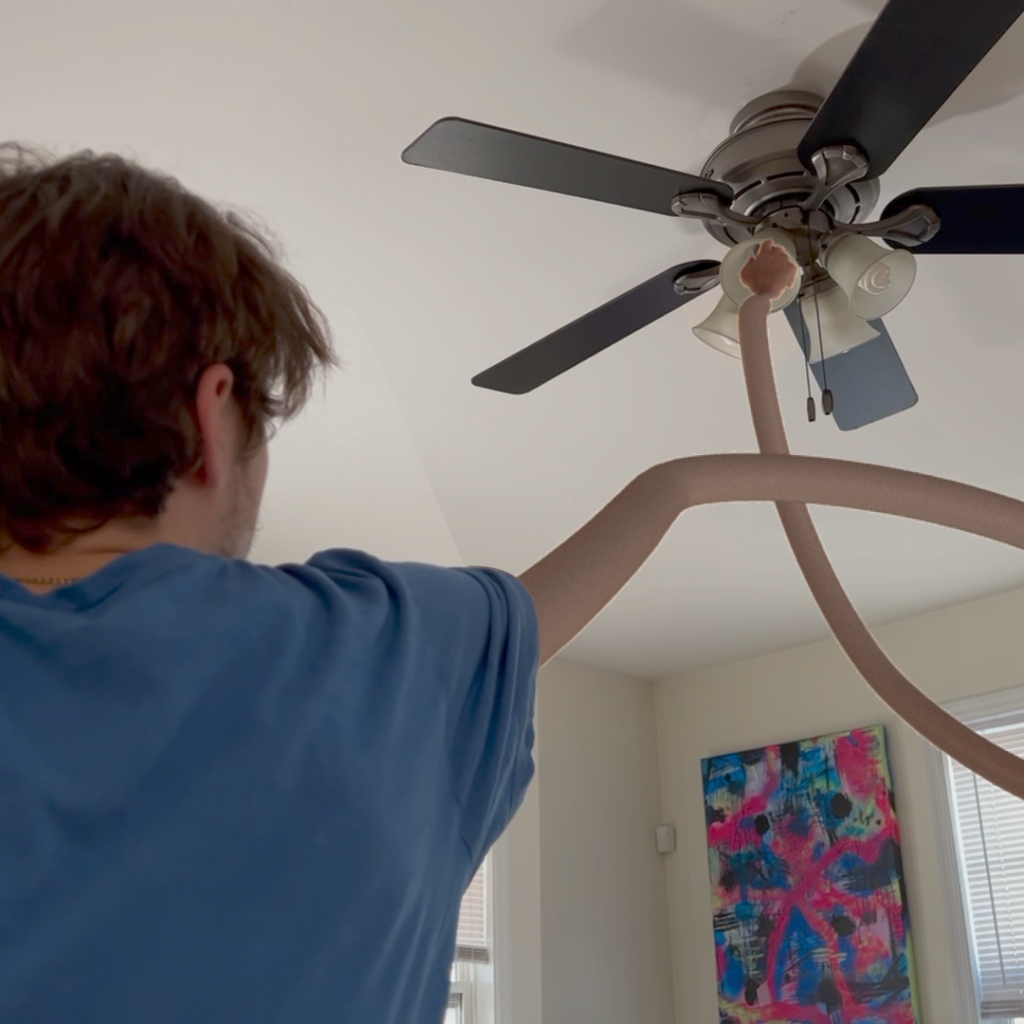
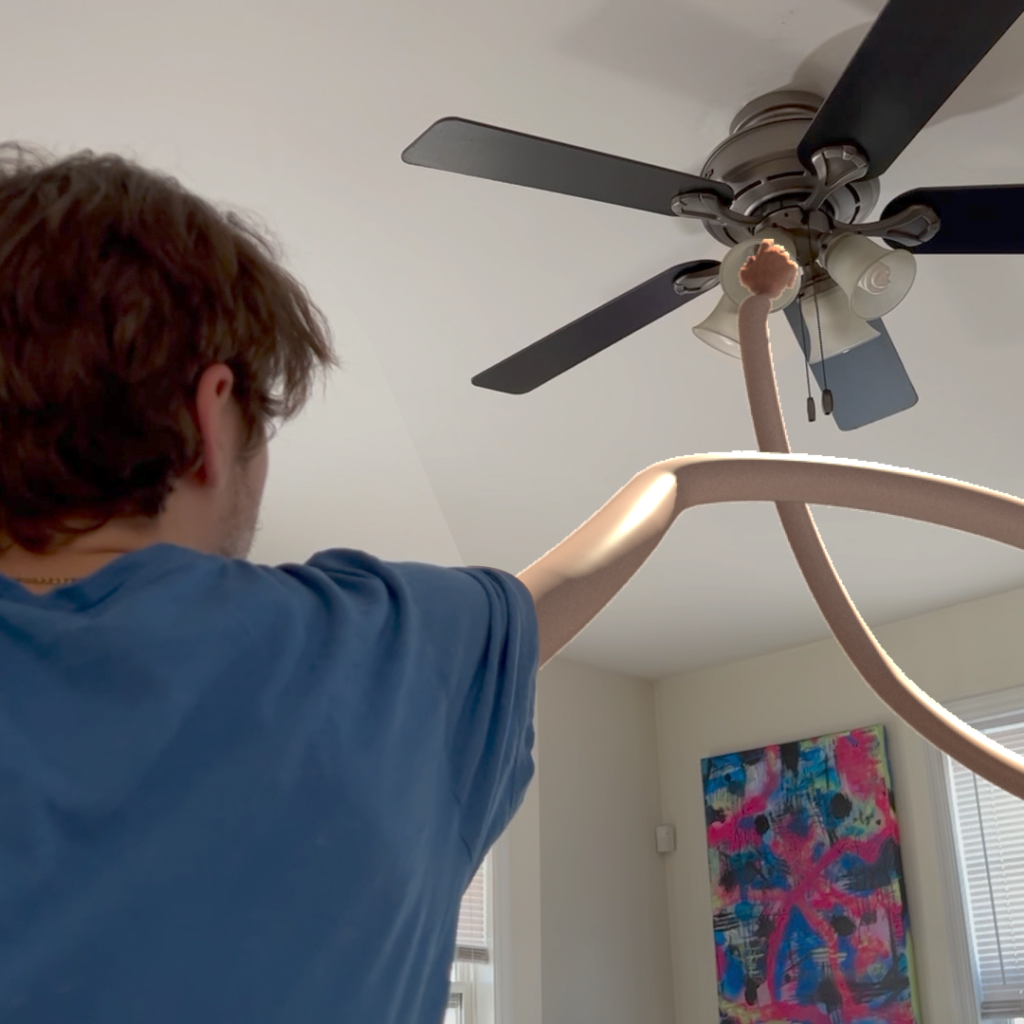
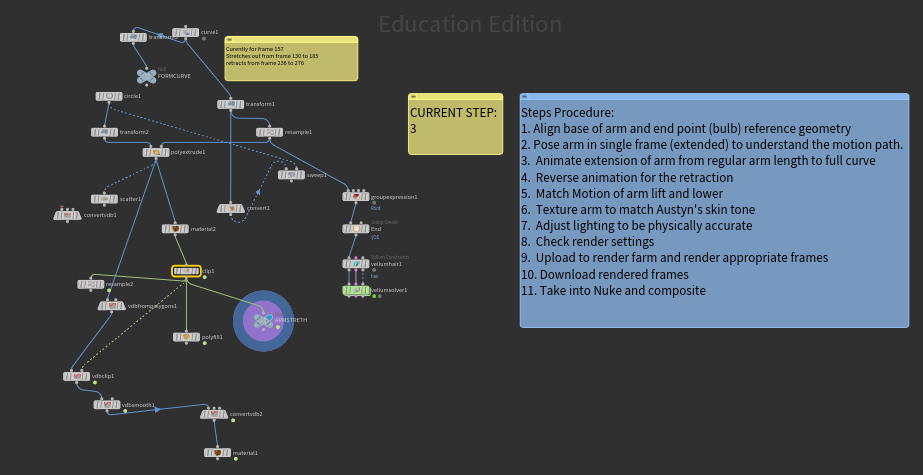
Firstly, my advancements with the arm stretching effect (around 00:46) are clear. I’m happy with the timing in my animation and the dynamic movement of the arm as it squiggles up towards the ceiling.
HOWEVER-
There are still some very obvious problems with the final video that I am not happy with. If I had another two weeks to work on this project, here is a short list of issues I would address, listed in the priority I would address them:
1. Adding my smoke simulation for the plant destruction scene, so I’m able to fully remove the 2D asset and claim that whole sequence as my own, except for the plant model.
I experienced difficulties with the render farm because of my plant model .obj being sourced from a folder. I wasn’t sure how to resolve this, I tried sourcing the model from the “txt” folder so the farm could perhaps read it, but that didn’t crack it. I had bigger problems with my project, so I moved on.
2. Carefully correct the painfully obvious roto work in the stretch shot.
By careful, I mean careful. This is a problem that on its own would take several hours of work, perhaps 4 to 5. This is due to the lighting change in the camera. If I could simply create a clean plate of the lit and unlit backgrounds, this would plainly not be an issue in the video. However, the white balance of the shot is actually affected by the lighting change, creating an entire multitude of tone between frames.
3. Continue researching and refining my arm stretch method. Currently, the CG hand doesn’t connect with CG arm.
As I will continue to explain for problem priority 5, perhaps replicating my Maya super stretch method in Houdini would give me an easier time with connecting the hand model with the arm model. The issue I see with this is that Maya allowed me to easily control and keyframe how far along the curve it would extrude. If I could figure that out in Houdini, then it would only be a matter of getting the hand model to rotate with the normal of the end face of the extruded circle.
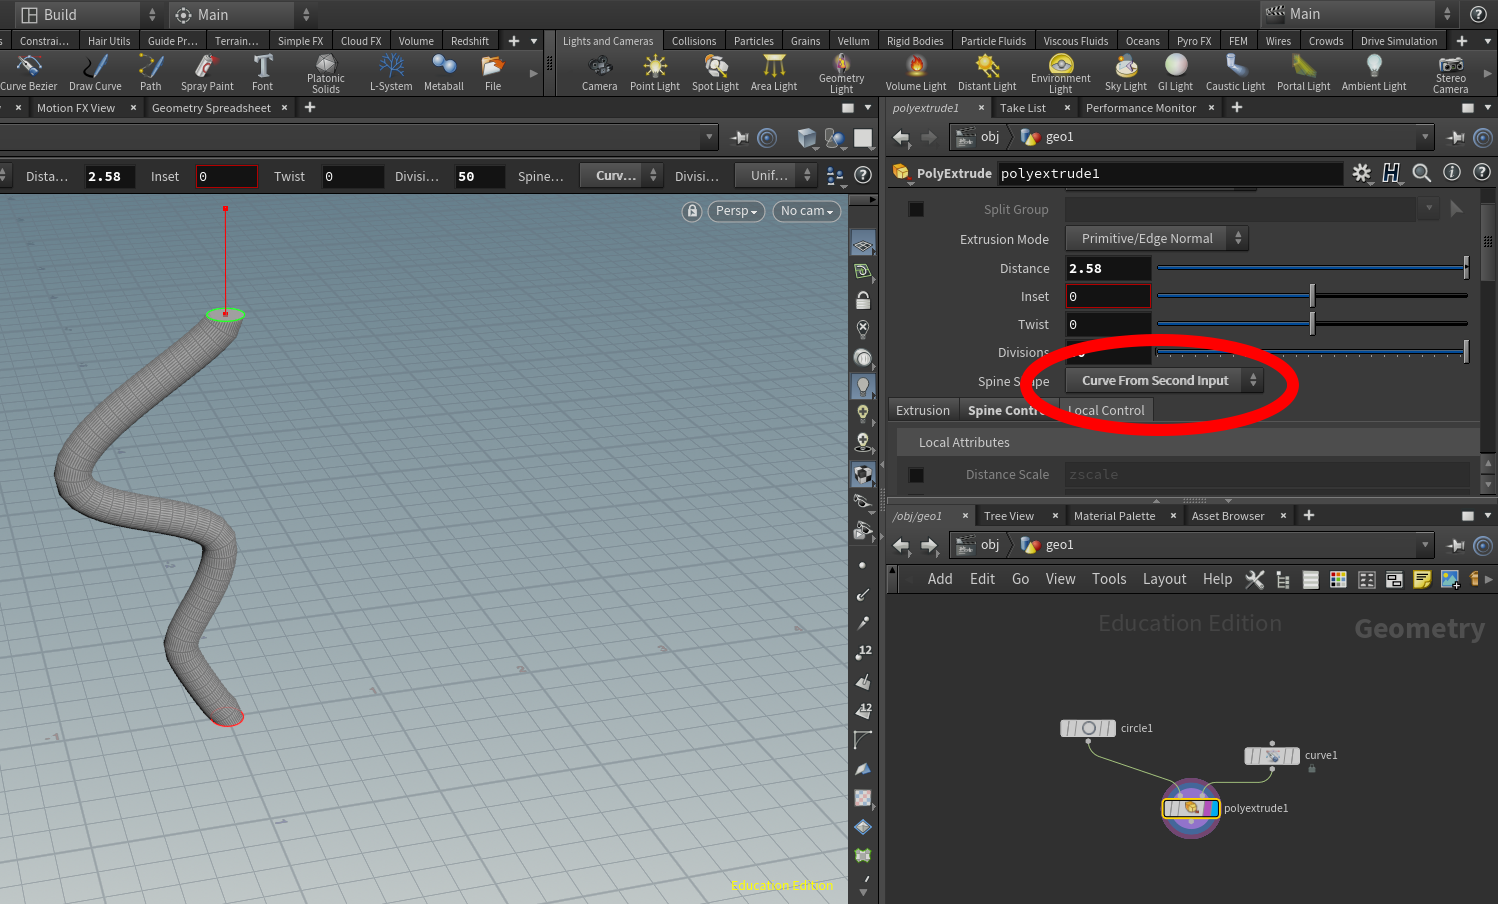
4. Add vellum simulation for the plant destruction. I found a neat tutorial for vellum plant destructions in Houdini.
5. Arm model has little variation, looks like a LEGO or toy arm model
With my current method of stretching the arm- extruding a shape along a curve- this is another problem that might take a while to ponder upon and solve. How I think this could be solved is by moving the project to Houdini. In Houdini, I believe I’d be able to close the caps in my extruded cylinder and convert it to a VBD then back to polygons, creating a smoother and more stable model. The only reason I switched to Maya from Houdini was because I was crunched for time, and I can light and render a scene faster in Maya Arnold.
6. Arm texture too plain
This problem is a sister problem to number 5. Any texture map I would apply to the Maya model would become worryingly stretched as the model grew in length, but not width. The current shader applied is a procedural shader with a repeated noise map in the roughness channel to simulate the shiny hairs on Austyn’s arm you could see as he reached towards the light. My solution to this problem would be a texture projection method in Houdini. If a larger texture with fine detail, such as small hairs or blemishes, is being projected onto the model from above, it would not have the issue of stretching out of proportion.
7. Color grading. There is some in shot 1, but little in the rest.
8. Super speed bit at the end has improper timing
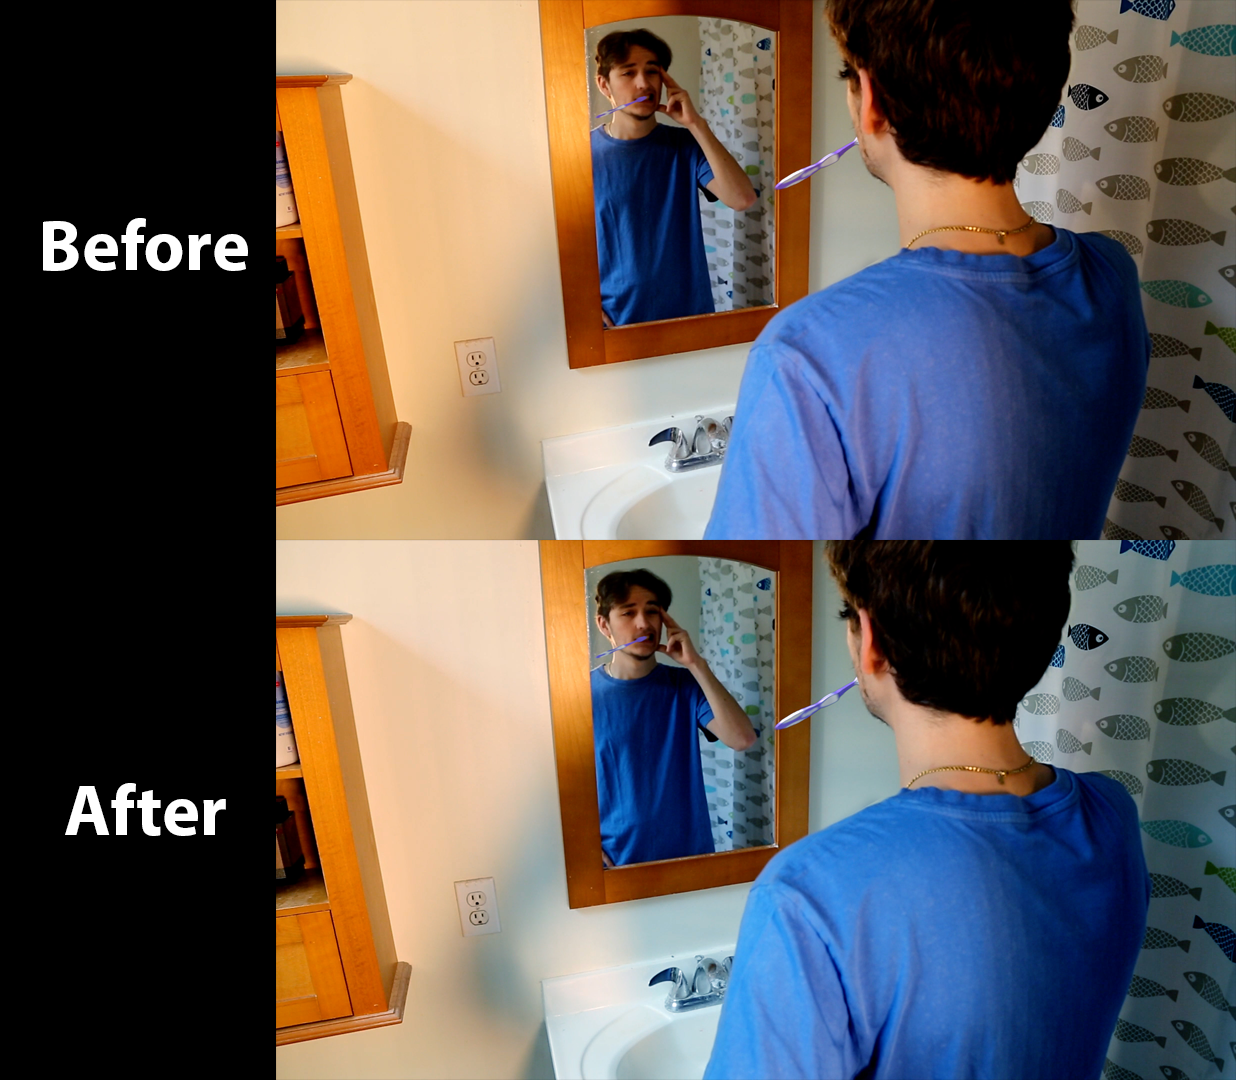
Thank goodness this is only a 2D effect. If I had to keep creating original 3D effects for this project, I would need a Studio III! 😂 But even still, it should not be overlooked. This effect is currently unsatisfying, that’s no secret. If the timing of this was more linear, as opposed to eased in, it might work better. Additionally, I would need to get an actual moving clip of my actor walking off screen, which I do have- just not isolated.
Furthermore, some secondary animation would add a lot to this shot. Some intense camera shake as our Hero booms off screen, or some CG curtains hanging over the sink waving with the sudden wind are both ideas I would have liked to implement into my film.
9. Thrown paper after super speed disappears into thin air (continuity error)
This is an easy fix, though those who see this film don’t usually notice it on first watch. In the super speed/Save the City sequence, my actor throws his to-do list over his shoulder. It’s there one frame, then suddenly disappears once the super speed effect kicks in. Whoops!
10. Fix the subtle drifting of the plant in the first shot of heat vision sequence
The lowest priority issue with “How Superheroes Do Their Chores” was something even I didn’t notice in my first few plays. However, it is still an issue that detracts from the final product. At the beginning of the heat vision sequence, the camera is very subtly bumped, dislodging the CG plant sequence from its place in the real bush. I would fix this by tracking the plant in Nuke and using that to generate a transform for the sequence. It’s a subtle bump, so a 3D camera track would be overkill.
Okay, Kieran, this is good and all, but the deadline has come and gone. What’s next?
Well, humble reader, that is a great question! As much as I would love to fix these glaring issues with “How Superheroes Do Their Chores,” both my Professor and my peers are done with it. What I continue to do with that project before I post it to my social media channels and demo reel will have to be done on my own time.
Next up on my slate of projects this quarter is my VFX for the student film Peanut Gallery!
Peanut Gallery Short (@peanutgalleryshort) | Instagram
On Saturday, I had a meeting with the Director and Lead Editor in which we discussed what they’re expecting from me on this project. Like I touched on in week one, they’re expecting a big FX explosion of their puppet character, Molly. However, during the meeting they also brought up two additional effects throughout the film that they also would like me to accomplish.
Firstly, I am going to have to do a screen replacement effect in Nuke.
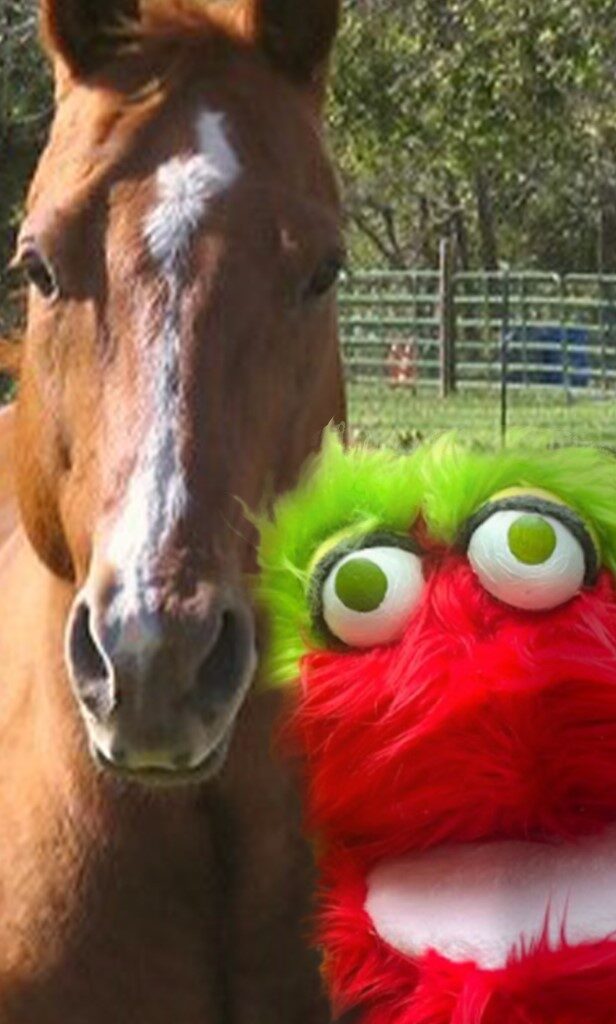
One of the characters explains to another character that their mom is a horse, and flashes them the above image on their phone as proof. Given I haven’t yet received the footage for the Antisemitism PSA, this will likely be my first screen replacement.
Secondly, Tara Beth Oglesby, the director, and Morgan Calisi, the editor, explained to me another effect that they want interspersed throughout multiple parts in the film. This effect is typography based, and involves letters and numbers popping in and out of existence, punctuating certain dialogue and story elements. I have a bit of a passion for typography, I believe that the right font can change a lot about the mood of a project, so the creators of Peanut Gallery made the right choice in bringing this up to me.

Lastly, another project I participated in this weekend was “Guns, Guns, Guns”. Only so far, I don’t have any role as a visual effects artist on this film. This weekend, I met up with Kristoff Minori and Shane Guion at Carnival to flex my acting muscles and play a part in their scene! I play two different parts, one as a character who grabs a handful of loose bullets from someone sitting across from me, and another as a gun-toting man waiting for the bus. I can’t wait to see how that one turns out! Although, I don’t know how I feel appearing as a gun carrier on school grounds…
Week Two – Arm Stretch Effect R&D
My main focus throughout the beginning of this week is the super stretch effect. My research and development has progressed greatly since last week. I’ve figured out that simulating a wire effect in Houdini simply does not give me the control I’m looking for. I moved on to trying a stretchy rigging system. While this method might be useful for an animated character on screen for a longer time, it was impractical and didn’t have the tubular effect I was searching for, based off my reference.
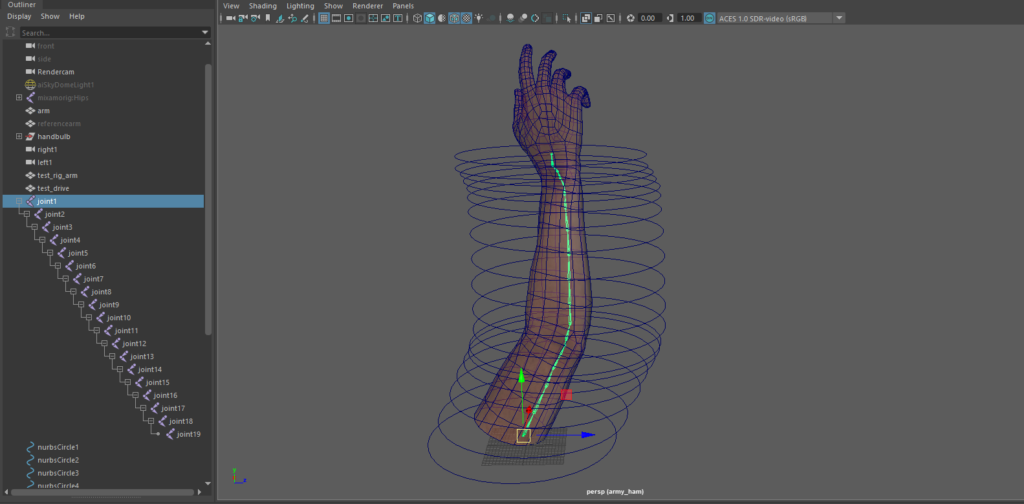
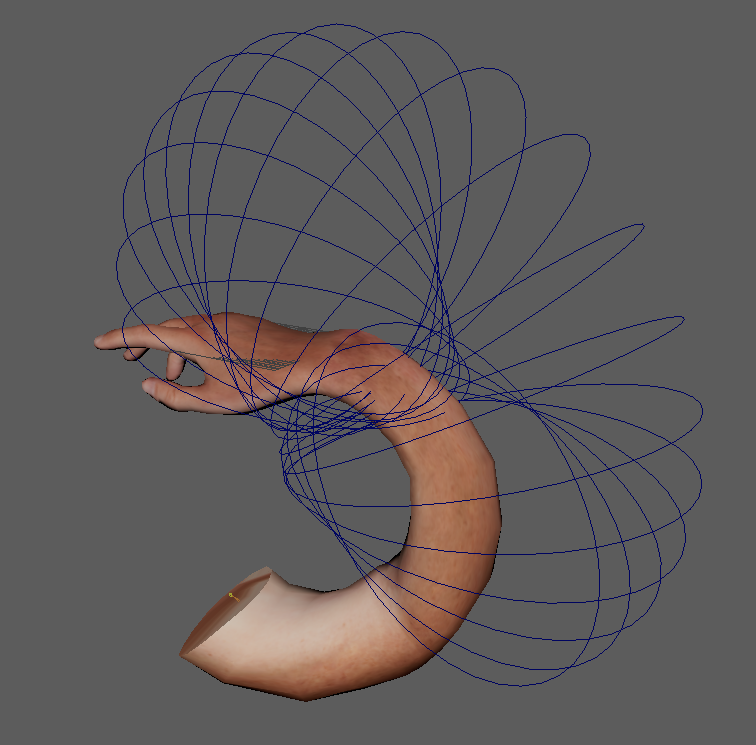
I moved on to a method with extruding polygons along a curve. This works well for the motion and is easily controllable. Once I complete the animation this week, I will move on to stitching the wrist to the arm, baking the animation, then adding a texture that’s able to stretch without looking too uncanny.
Week One – Senior II Projects
In this blog, I will chronicle the progress I make in Visual Effects Studio II, led by Professor Joe Pasquale. In this class, I will be focusing my attention on 3 main projects with room for a fourth*. Allow me to introduce them!
- How Superheroes Do Their Chores (Part II)
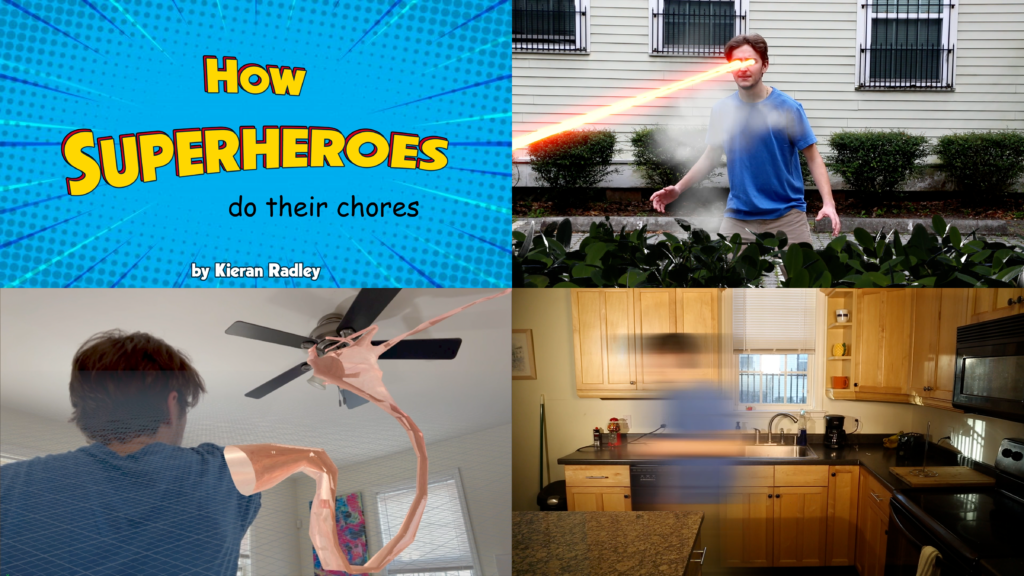
“How Superheroes Do Their Chores” is a project that shows how a superpowered individual goes about completing their to-do list of everyday house chores. With a final due date of class 5 (April 10th, 2023), I’m continuing this complex project from Senior Studio I. During this quarter, I will be working on 4 shots in particular.
For your viewing pleasure, here is the version I managed to create with the 10 week in Senior Studio I. This also includes time for preproduction and production.
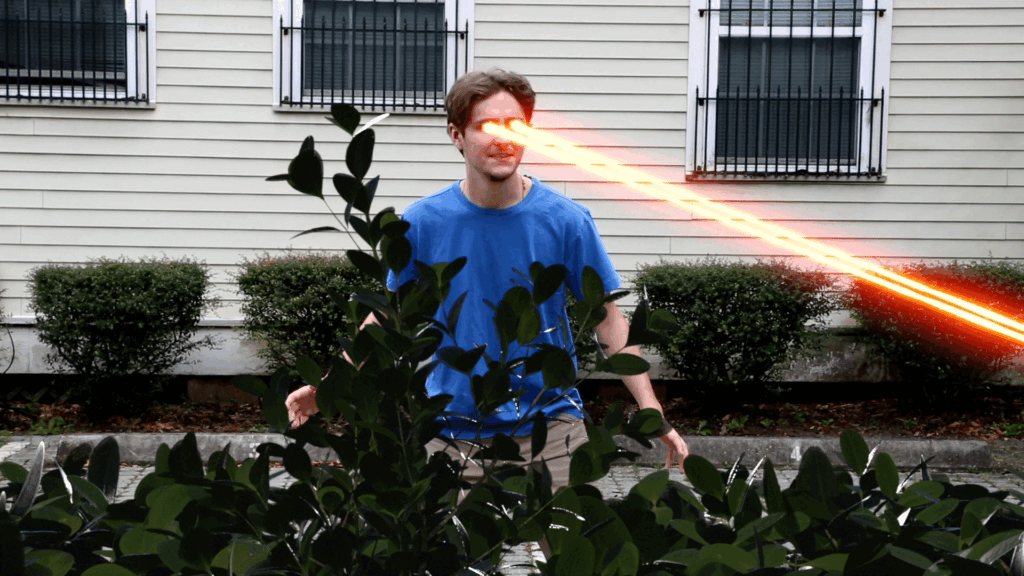
There are two shots in the heat vision sequence that need work, particularly with the smoke element. I had created a suitable smoke simulation using Pyro tools in Houdini, but I encountered a problem with downloading it from the render farm, and simply ran out of time to use it in my final for Studio I. The current smoke plume audiences see is a 2D asset I had retrieved online. No bueno!
Secondly, the arm stretch effect is not good in its current state, there are several glaring issues with the footage. Like some other problems I faced with this project, I simply ran out of time to get a satisfying render. The method in the current video is a simulation in Houdini using a wire simulation. The reason it moves around so erratically is that the elasticity of the wire is set too low. Without the right tension, the wire is free to spring way up and way down. Additionally, only a handful of the necessary points are pinned; 4 of the 5 fingers on the hand swim up and down.
A new, better approach I started exploring is stretch rigging using IK rigging in Maya. This method offers a far greater degree of control in the animation. I saw a very intriguing demonstration of this tool by my fellow classmate Dasha, I believe, in her reel at the last showcase. If I cannot sufficiently rig this arm to stretch upwards towards the lamp while keeping the hand intact, I will reach out to her for help.
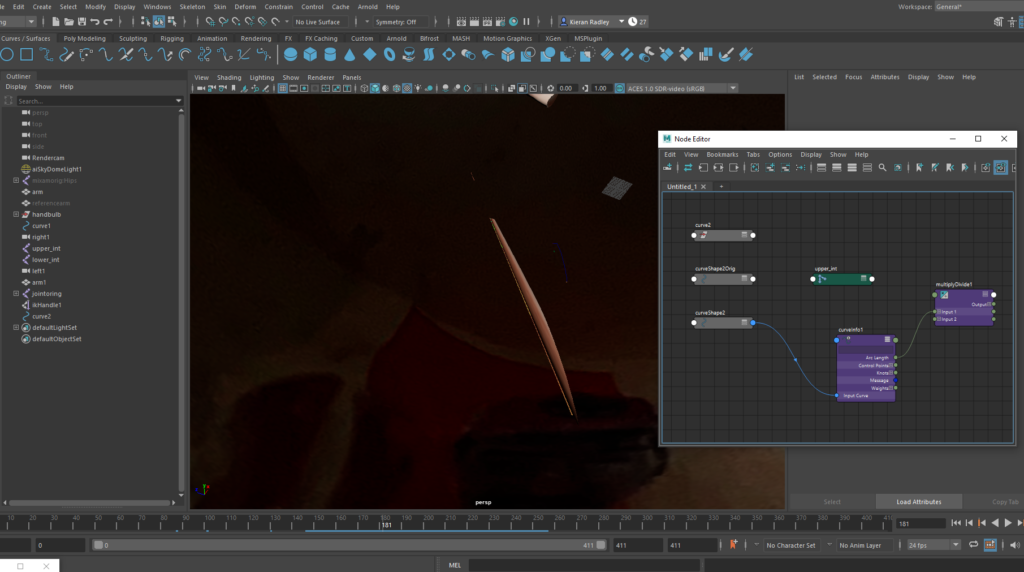
Besides those 3D rendering and integration issues, I will also need to spend a day or so conducting a general compositing sweep on the whole project. For instance, the interior and exterior scenes could use a more cohesive color story
2. Peanut Gallery
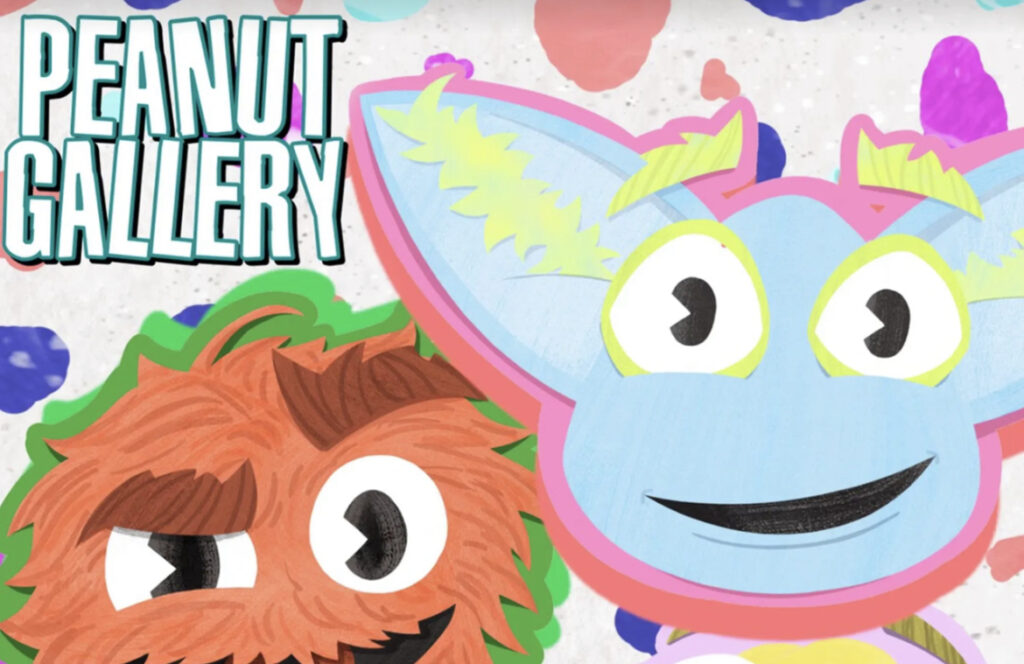
“Peanut Gallery” is a short student film written and directed by Tara Beth Oglesby. This short film is about of unexpectedly vulgar “Sesame Street” style puppets with deathly peanut allergies playing a game of Russian Roulette with a tray of crackers- one slathered with peanut butter while the rest are sunflower seed butter. Due to some of the wacky styled visual effects videos I’ve created, the producer Chelsea Pham reached out to me to work on a complex visual effects shot they need.
Leading up to the FX-heavy shot, one of the puppet characters, Isak, projectile vomiting on another character, Molly, with toxic peanut-infected vomit. As a result, Molly is to explode in a shocking, gory, wet, confetti-filled burst. That’s my shot, and I intend to use balloon popping vellum techniques in Houdini as well as some particle simulations emulating a confetti and yarn cannon.
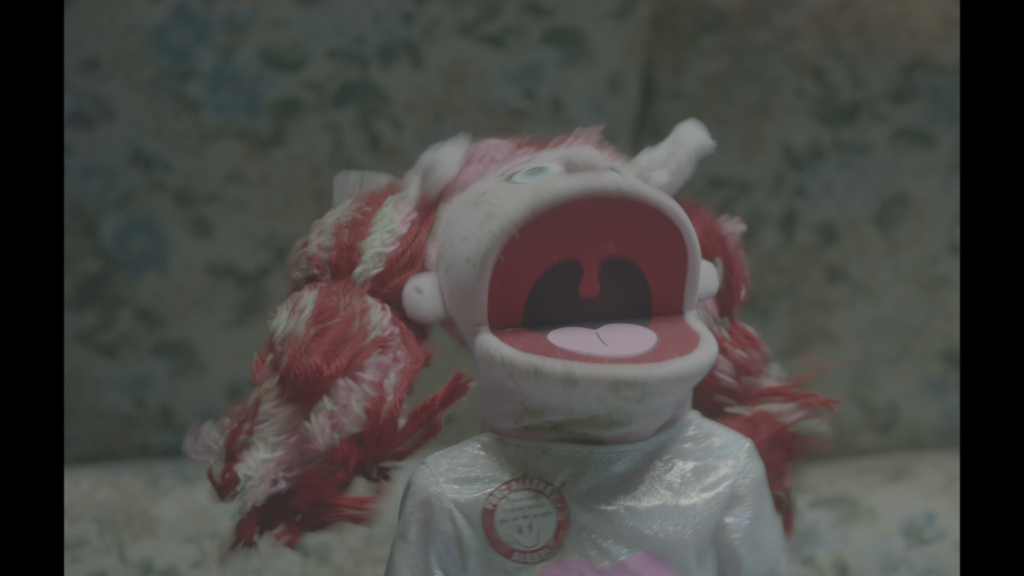
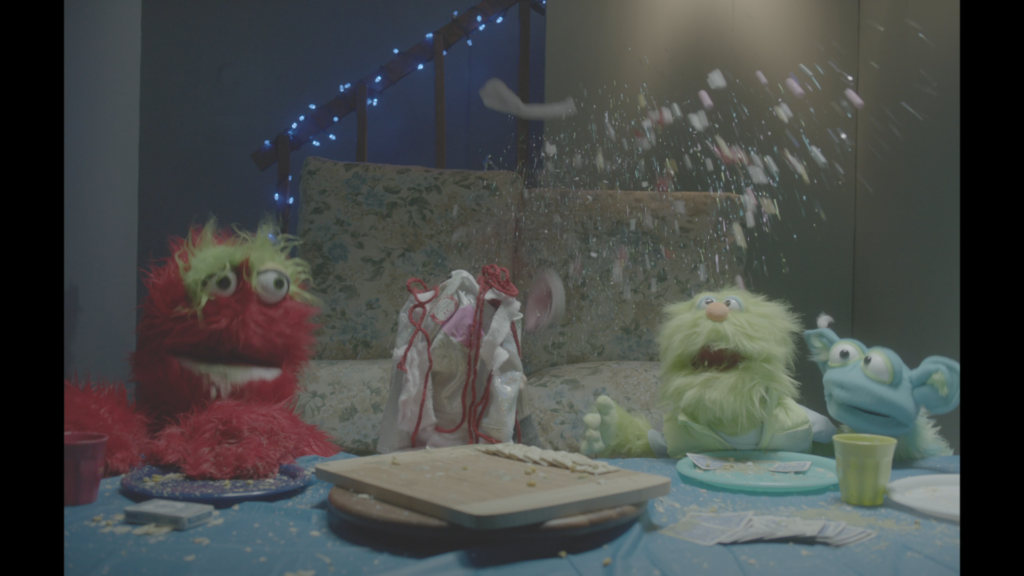
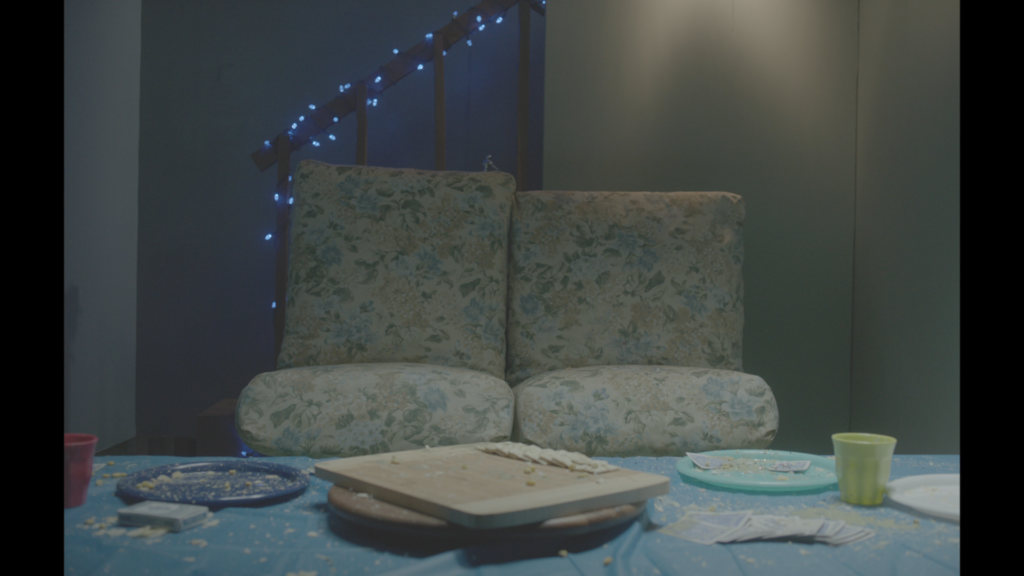
This will be the most complex FX integration shot I’ve completed to date, combining multiple different materials all flying in the same explosion. Luckily, I prepared all my necessary lighting information on set for a proper integration, when the time comes. In addition to capturing light intensity with my white foam ball, I also captured environmental light in the form of an HDR. Here’s a select 5 from my photography.

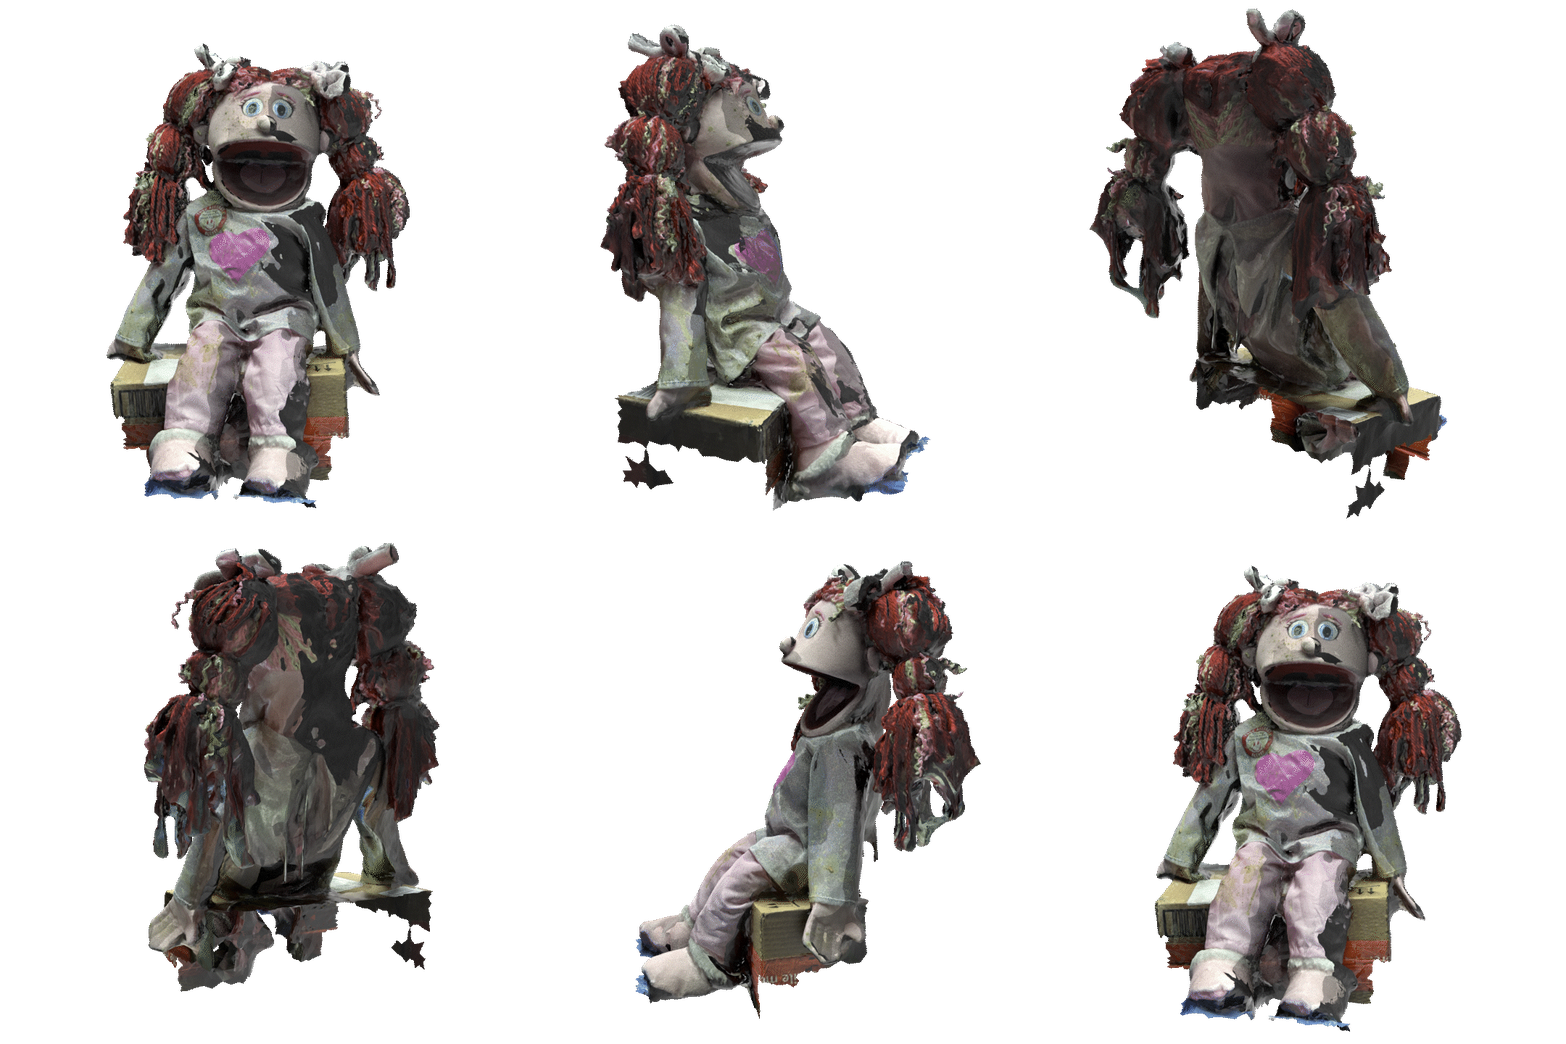
In another stroke of genius by yours truly, I went ahead and captured an extremely high quality photogrammetry model of the puppet in question.
3. Antisemitism PSA
The 2nd FILM project and my third scheduled this quarter is an antisemitism PSA written and directed by Sasha Landy. This job has me fulfilling 3 different shots using straightforward compositing techniques. I don’t have any footage to show this week, here is a note from the director:
“Right now we are making sure we are getting those shots cut down to the exact seconds of length we want them at so that you don’t have to do any extra work! I’ll reach out with my editor, Mitchy, when that’s ready for ya! Should be next week, is that an ok time for you or do you need it sooner?”
No, I don’t need it sooner. Let the editor make the timing shine so I’m not wasting frames! I’ve taught them well, the crew has been very gracious in making sure the shots are as easy as possible for me to finish. The first two shots involve a simple screen replacement of a laptop screen showing a chroma key blue.

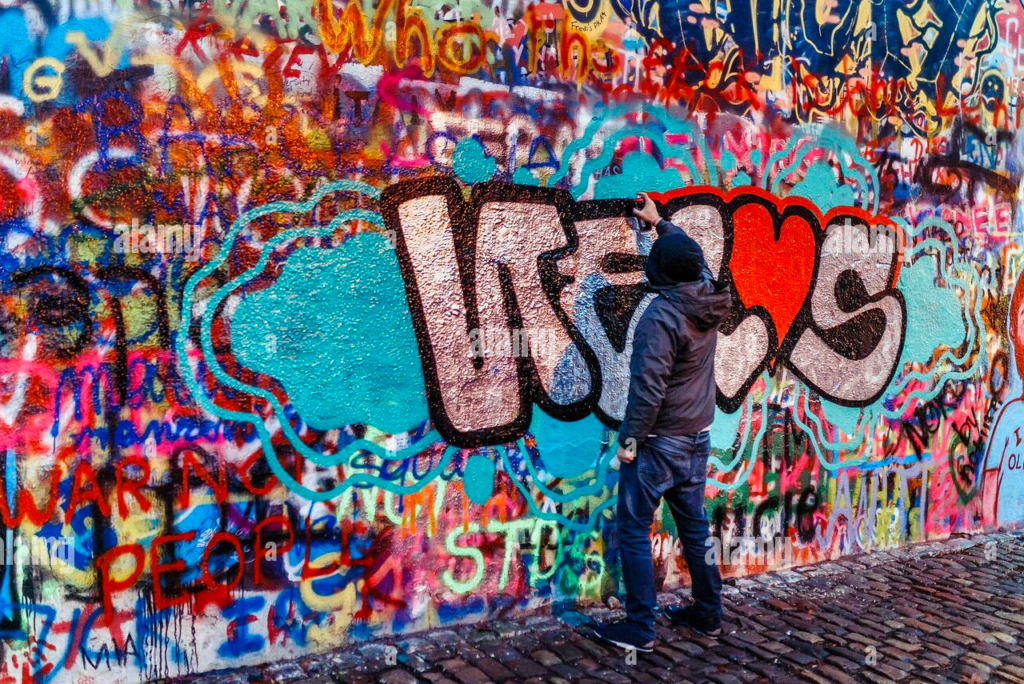
The second shot involves me adding some graffiti to the side of a wall, with some possible roto work as the vandals run off. The camera does move in this shot, thankfully. I find tracking the motion of the camera sometimes grants me more accurate results than trying to match a still frame without accurate measurements of the physical objects on the set.
However, this graffiti isn’t a beautiful mural meant to uplift the community. No, this graffiti is going to be a hateful stain spray-painted on the side of a local synagogue.
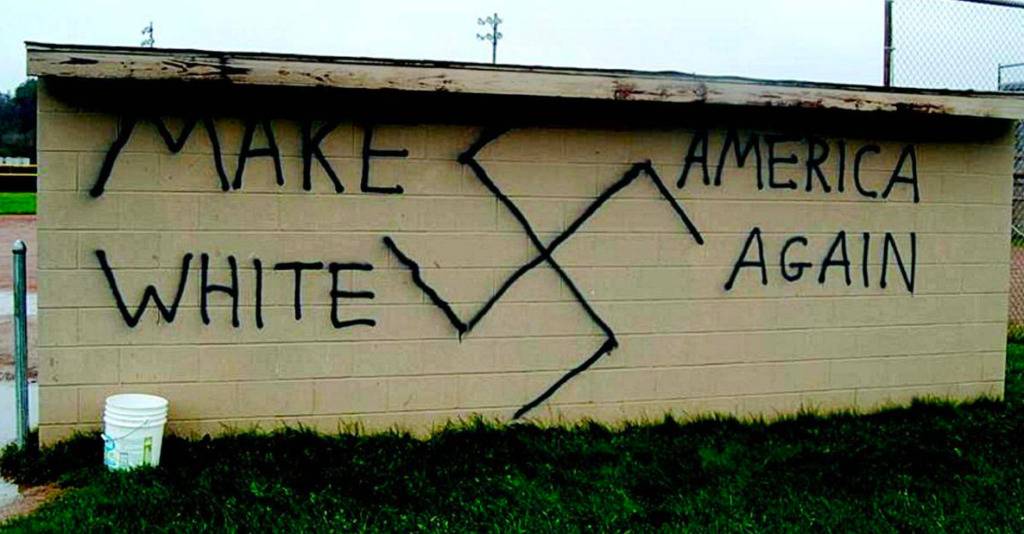
This shot will be one of the hardest shots I ever am tasked with creating during my career. Not for any technical reason, but for the emotional toll it will take on me deliberately adding a hateful message to the side of the building. The actors in the scene had to wave sealed spray cans around, but I am the one creating the vandalism itself. I am not of Jewish faith or heritage, personally, but the director is and has made it clear to not pull any punches.
If I do my job right, the viewer will not be able to tell that the spray paint is only a digital effect. While it may be convincing, this is not the type of shot I’d be thrilled to put into my demo reel without context.
I’m sure I’ve not been the only visual effects artist faced with creating a shot that pushed them completely out of their comfort zone. I have heard stories of VFX artists working on Amazon Prime’s “The Boys” having to take breaks frequently due to the gristly and gruesome nature of the detailed gore effects on that show.